

⚡ Update: Good news! You no longer need custom code to get your favicon showing in Google Search. If you upload an image designed at 144x144px directly through Squarespace’s standard uploader, Google will now accept and index it. I’ve updated this guide below to include both the easy built-in method and the backup code-injection fix.

It’s one of the most frustrating quirks of launching a new website: you carefully upload your beautiful custom favicon to your Squarespace site, and it displays perfectly inside your browser tabs. But when you search for your business on Google, your listing is stuck with that generic blue globe or gray icon.
If your browser tab looks great but Google search results don’t, you aren’t imagining things. Browsers and search engines handle favicons completely differently.

Here is exactly why this happens on Squarespace, and the step-by-step fix to get your brand icon to appear in search results.
Note: While Squarespace’s uploader interface says “Browser Icon,” uploading a correctly sized image here will now update BOTH your browser tab and your Google Search result.
The Root Problem: The Google “Multiple of 48” Rule
While web browsers are incredibly forgiving and can scale almost any graphic file down to fit a tab, Google’s automated Favicon Bot is strictly stubborn.
According to Google’s official search developer guidelines, your favicon must be a multiple of 48 pixels square (e.g., 48×48 px, 96×96 px, 144×144 px, etc.)
Where Squarespace Clashes with Google
- The 48px Multiple Rule: Google strictly prefers square favicons sized in multiples of 48 pixels (e.g., 48x48px, 96x96px, 144x144px).
- The Sizing Trap: If you upload a tiny 32x32px icon or an odd-ratio image, Squarespace compressed or served a file that Google’s crawler rejected, falling back to the default blue globe.
- The Fix: If you upload a 144x144px PNG directly into Squarespace, the system preserves a clean, compliant image that Google accepts.
How to Fix It (Step-by-Step)
Method 1: The Standard Built-In Fix (No Code Required)
This is the easiest fix and works for almost every Squarespace site now.
- Create a 144x144px File: In Canva, Figma, or Photoshop, create a canvas sized exactly 144×144 pixels (a 48px multiple).
- Export as PNG: Save your logo with a transparent or solid background as a
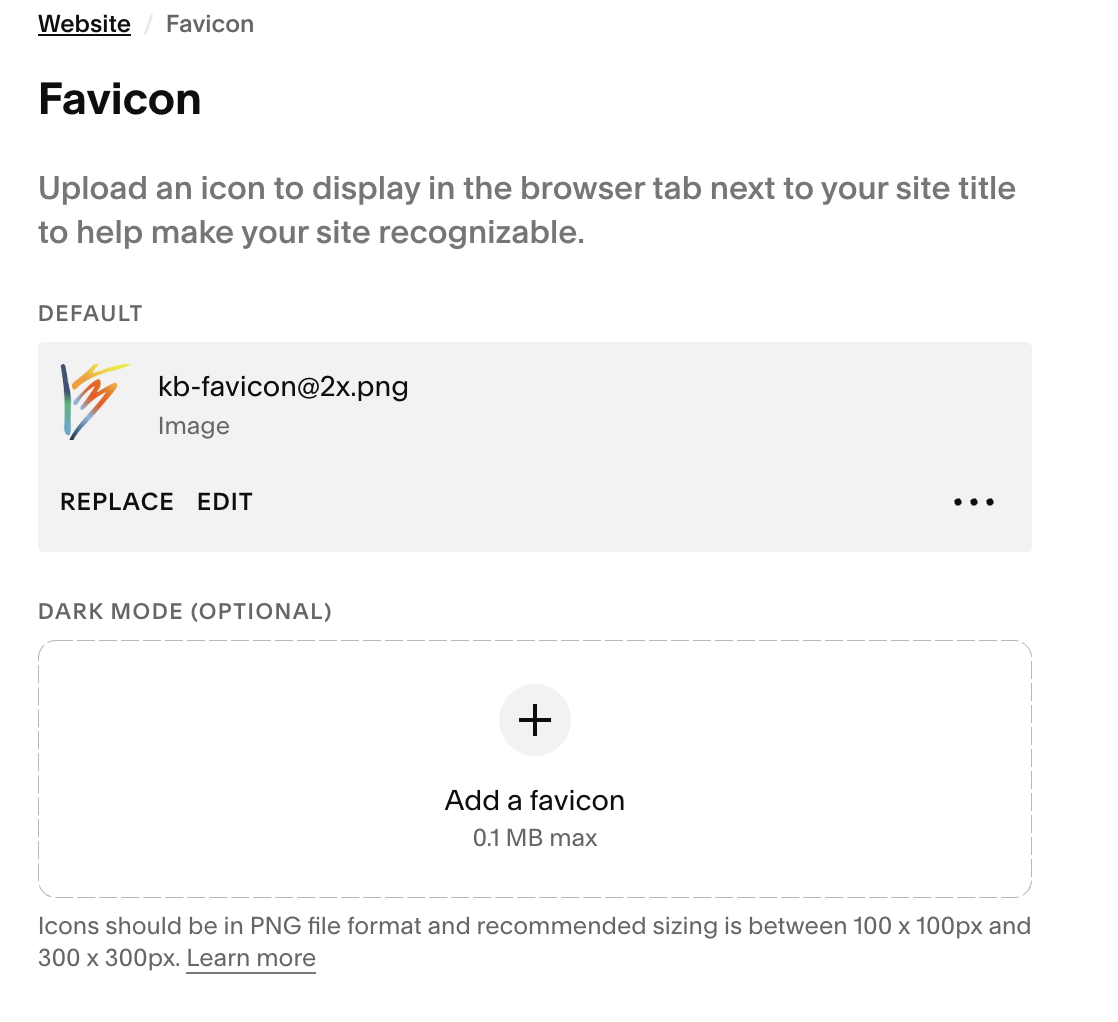
.png. - Upload to Squarespace: Go to Website > Website Tools > Favicon (or Settings > Website > Favicon depending on your Squarespace version).
- Replace the Old Icon: Delete your old icon, upload your new 144x144px file, and click Save.
Method 2: The Advanced CDN + Code Injection Fix (Backup Plan)
If Method 1 doesn’t update after two weeks, or if you are using an older custom template that overrides the native browser icon, you can force Google to read your file directly via CDN. (Note: Code Injection requires a Squarespace Business or Commerce plan).
To bypass Squarespace’s internal file shrinking, you need to trick the system by hosting a perfect file size on their content delivery network (CDN) and forcing the code into your site header.
Step 1: Format a Compliant File
Create a clean, square version of your logo in a tool like Canva or Photoshop. Make the canvas size exactly 144x144px (which perfectly meets Google’s rules) and export it as a transparent .png.
Step 2: Grab Your Permanent CDN Link
Instead of using the standard Browser Icon slot, we are going to upload this file directly to your Squarespace asset bank to get its raw web address.
- Open any page layout in the Squarespace editor, click a text block, and create a temporary hyperlink.
- Click the link Gear Settings Icon and choose the File tab on the left-hand column.
- Click Upload File and select your newly minted 144x144px PNG.
- Once uploaded, right-click on the file name in your panel list and select Copy Link Address. This copies your permanent CDN asset link, which will look similar to
(https://images.squarespace-cdn.com/content/v1/.../favicon.png). - You can delete the temporary text block link now; your file stays safely saved on the backend.
Step 3: Use Code Injection to Override the Default Tag
Now, we explicitly tell Google’s crawlers where to look.
- Go to your central Squarespace dashboard.
- Navigate to Website > Website Tools > Code Injection (Note: If you are using older Squarespace layouts, it may live under Settings > Advanced > Code Injection AND access to this area is considered an upgraded feature in Squarespace).
- Scroll to the Header section box and paste the following meta-tag:
HTML
<link rel="icon" type="image/png" sizes="144x144" href="PASTE_YOUR_CDN_LINK_HERE">
(Make sure to erase PASTE_YOUR_CDN_LINK_HERE and drop in your exact link from Step 2).
- Click Save in the top-left corner.
Step 4: Nudge Google to Empty its Cache
Google caches search results images very aggressively, meaning that even with perfect code in place, it could take weeks for normal bots to cycle back and check your favicon settings. You need to ask Google directly to review your new code:
- Log in to your Google Search Console account.
- Click into the URL Inspection bar situated at the top of your dashboard screen.
- Paste your primary homepage URL address and press enter.
- Click the Request Indexing action button.
⏳ The Waiting Game: Once indexing is manually requested, Google’s specific favicon bot will schedule an inspection. It usually takes anywhere from 3 days to 2 weeks for the default globe to officially swap over to your custom graphic icon in live search queries.


