If you’re noticing that the top and bottom of your pages are missing in Microsoft Office and you want to see them, then this post is for you. Showing your full page in Word is easy to do and requires just a couple of Microsoft Word setting configurations on your Mac.
Select Print Layout View
Firstly, make sure your Microsoft Word View setting is checked to Print Layout. Print Layout lets you see the full page as it will look when printed on a piece of paper.

Even with the Print Layout view selected, you may still be missing the top and bottom of your page view. To address this, you’ll change your Show Window Element view settings.
Select a Checkbox in Author and Proofing View Tools
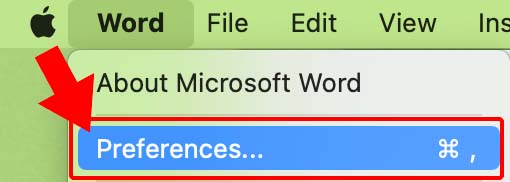
Secondly, on your Mac select Word > Preferences

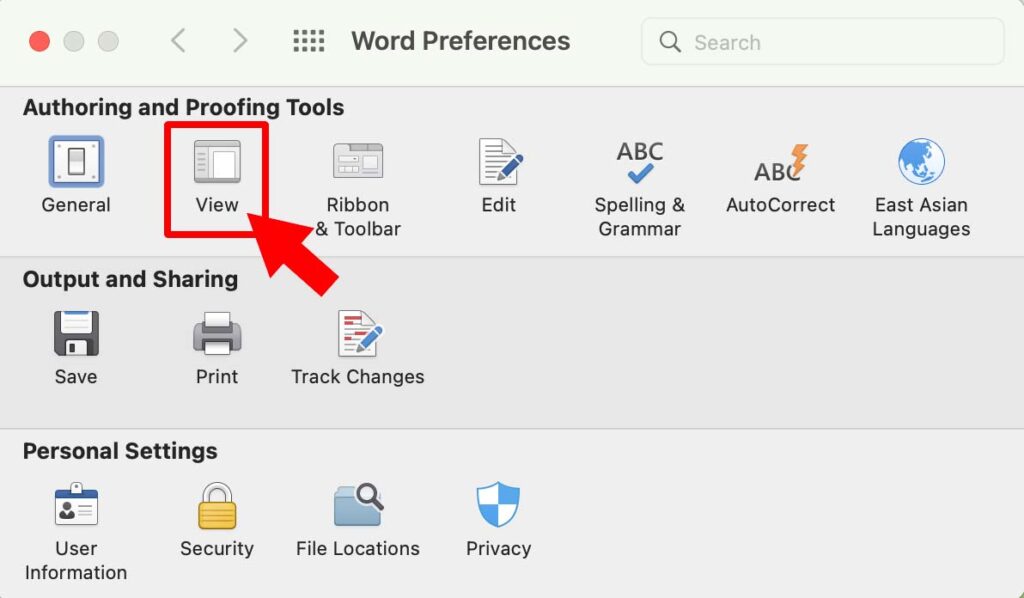
Next, from Preferences, click the VIEW icon.

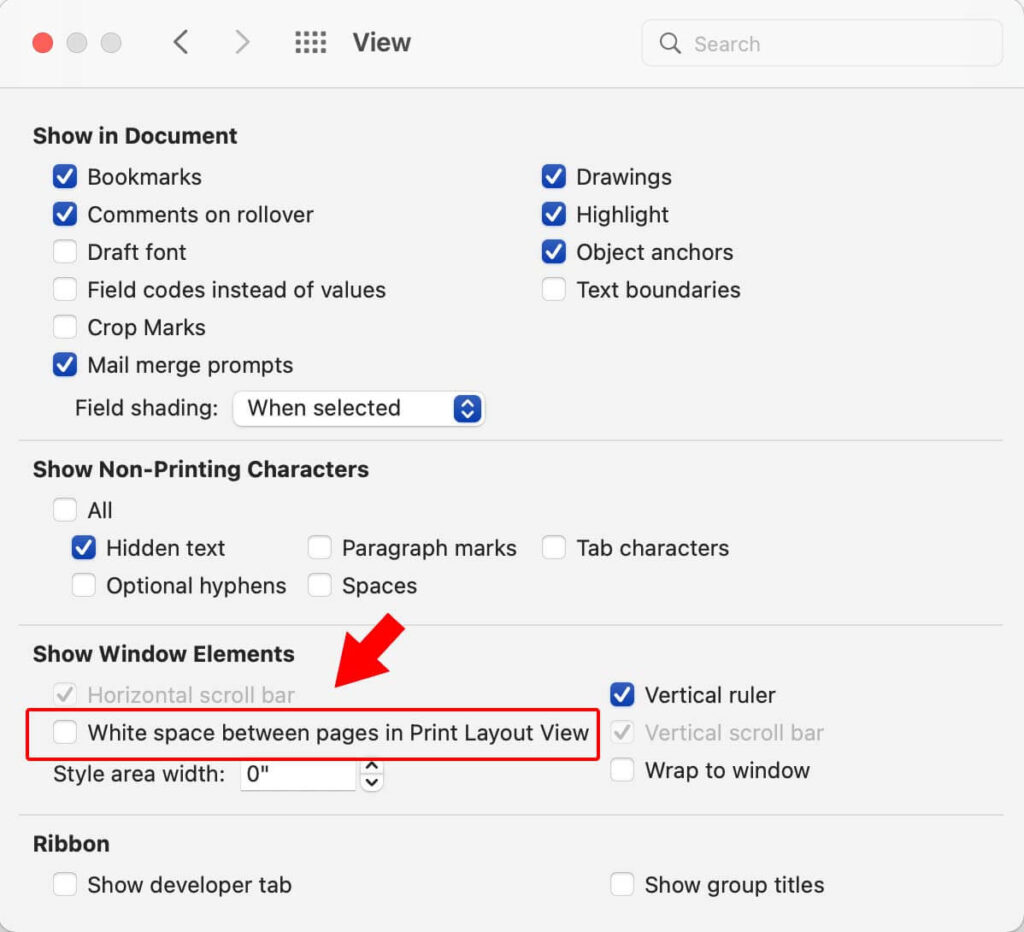
On this view, look for the Show Window Elements section.

Under Show Window Elements, check the box that reads, “White space between pages in Print Layout View“
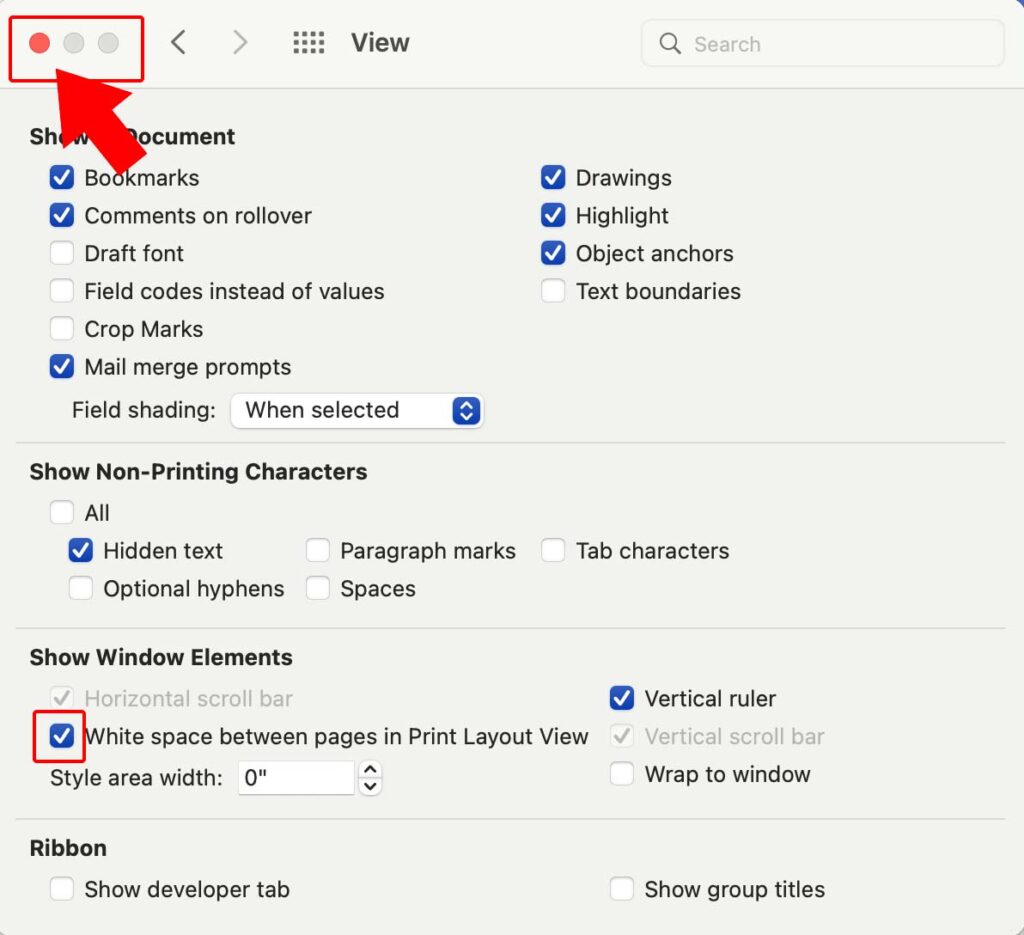
To apply your new settings, close the Preferences window.

In conclusion, applying these two Microsoft View settings should allow you to see your full Word document in Word on your Mac.
Note: I’m not sure why, but I have to go back and set this Word Preference every few weeks or so, making this a go-to tip for Mac Word users.
More questions about viewing entire pages in Word
To view your entire page in Word, make sure that your view is PRINT LAYOUT and that you have the preferences option checked for, show “White space between pages in Print Layout View.”
