
For newbie designers, I recognize that often simple tasks taken for granted by more experienced designers can become roadblocks. One task that can stop new design students dead in their tracks is how to get a specific font into PhotoShop.
If this is you, don’t worry; adding a font to PhotoShop is relatively easy, and this post explains how to do it.
The problem
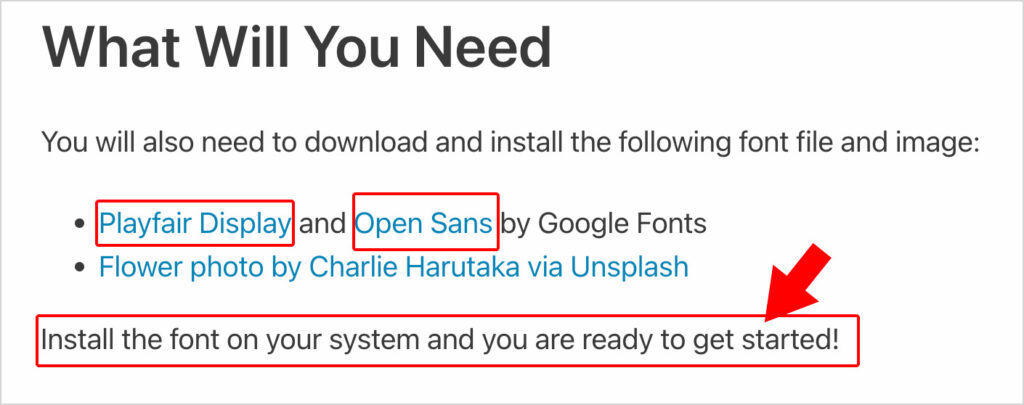
An online design tutorial may say, “you will need to download and install the following font file.” However, the tutorial may not go into the nitty-gritty of downloading and installing the font file.
How to download font files for PhotoShop from Google Fonts
In the graphic design tutorial mentioned above, the two fonts to download and install are Playfair Display and Opens Sans by Google Fonts. Google Fonts has a website where you can learn about available Google fonts and download the font file.
Explore or download the Playfair Display font on Google Fonts or Open Sans font from Google Fonts.
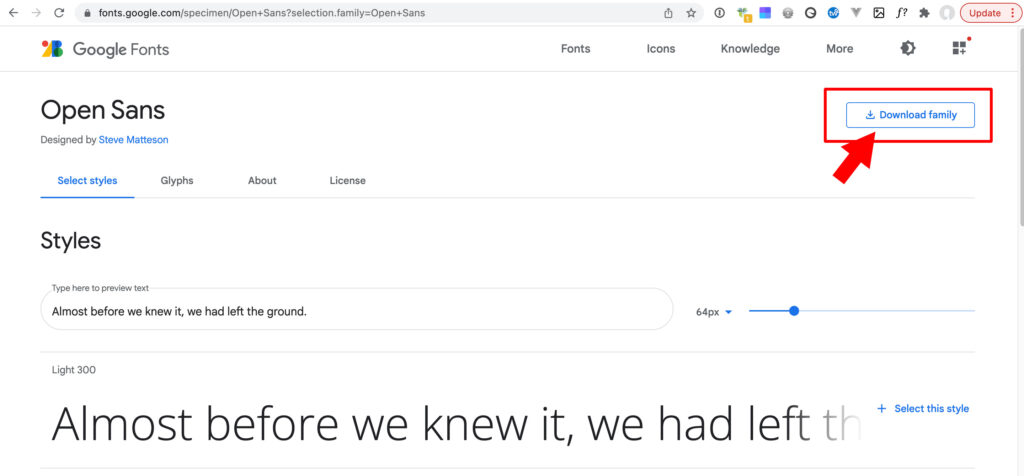
The “Download Family” button on Google Fonts.
Click the button labeled Download Family in the top right of Google Fonts to download a zip file of your selected Google Font. The family includes all weights of the font. For example, italic, book, bold, and bold italic.
Install font in Photoshop on a Mac
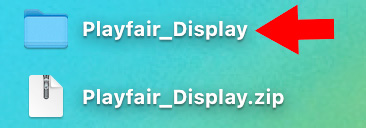
The downloaded Google Font file is a zip file; the .zip extension file (the zip file) needs to be unzipped. Unzipping is also referred to as de-archiving or decompressing. A zip file is required when multiple files are downloaded simultaneously from a website. The folder holding the multiple files becomes “zipped” so that you, as the user, can download a single file.
On my Mac, I have two settings configured that make this process go smoothly. First, my download configuration is to download new files directly to my desktop, and secondly, my zip files automatically unzip to reveal the folders they contain on my desktop.
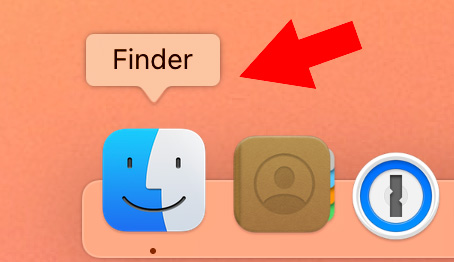
Your Mac’s setting may have downloads going directly to your Download folder, and you may need to double-click the zip file to unzip it. Remember, you can locate your Downloads folder via the Finder app in your Dock.
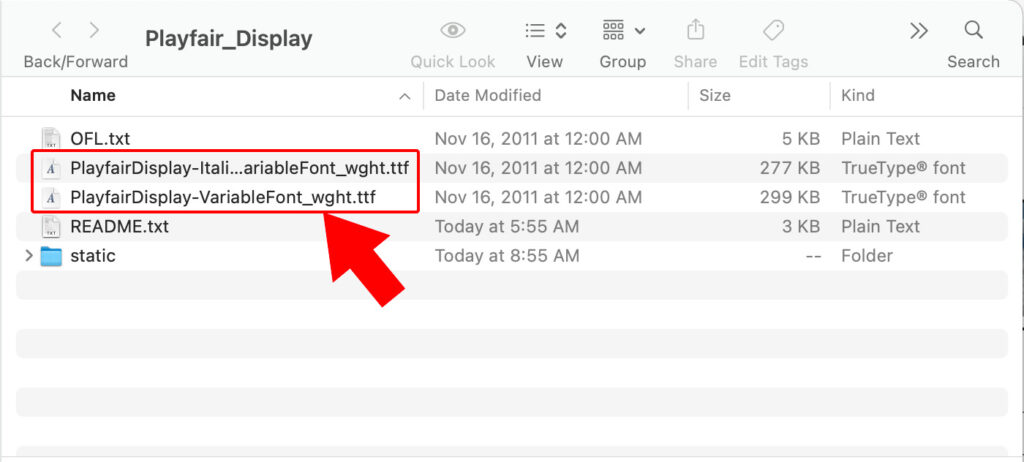
Next, open the font folder labeled Playfair_Display or Open_Sans or any other Google Font name. The font file you are installing ends in the extension .ttf. TTF stands for True Type Font and is a cross-platform compatible font file for both Macs and PCs.
Font Book – Mac’s default font management software
Macs come pre-installed with the program Font Book and configured with Font Book as your Mac’s default application for opening font files. If you have not changed this default setting, when you double click on a font file, Font Book will open and prompt you on what to do next.
This behavior is similar to downloading and clicking on a Word document. If Word exists, then Word automatically opens the file for you.
So, next, go ahead and double-click on the downloaded font file (the TTF file).
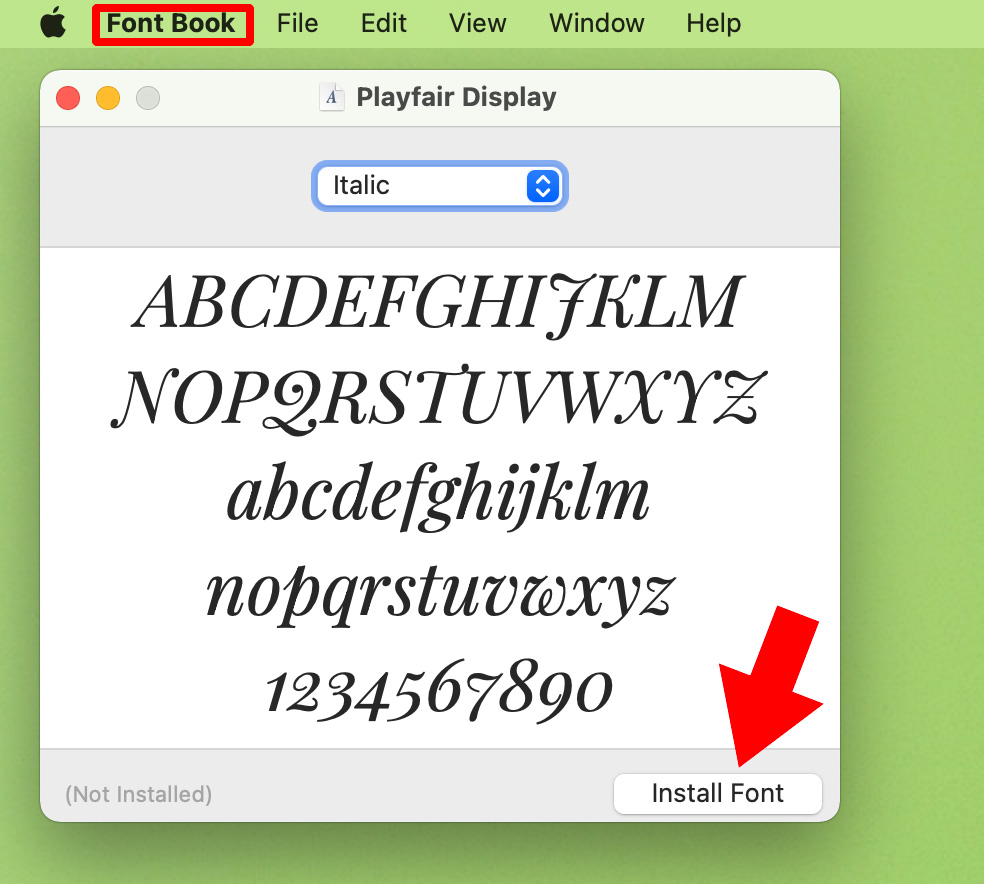
You will then see a Font Book pop-up window that displays a text sample of your double-clicked font. In the bottom right, click the button labeled Install Font.
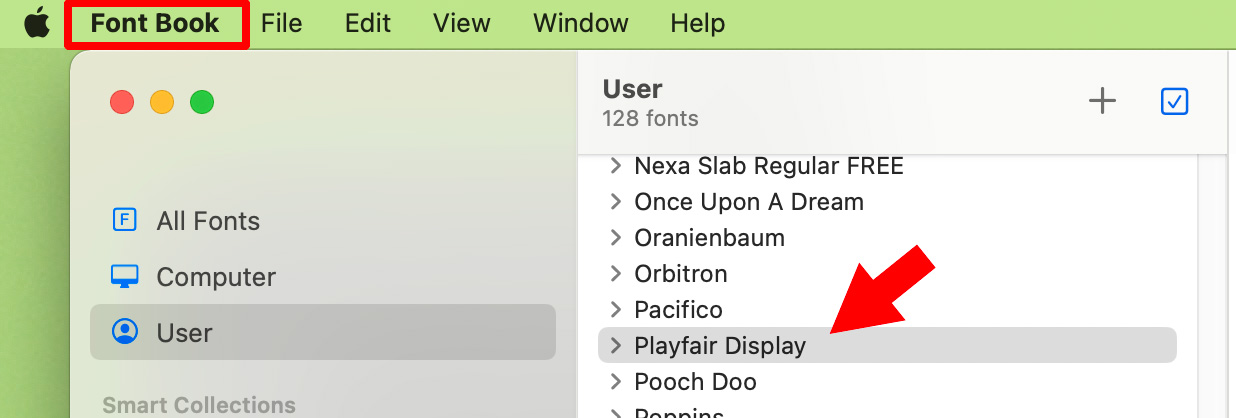
Once you click the Install Font button, Font Book will highlight your recently installed font in the user-installed font section of the display.
Successful Mac Font Installation
You’ve now successfully installed a font on your Mac computer. A user-installed font is accessible from within any program on your computer, including PhotoShop.
To finish installing all your fonts, go back to your font folder and repeat the process for the other downloaded TTF files (true type font files). Google Font folders typically have two fonts included, where each requires double-clicking and installing.
How to access my newly installed font file on my Mac in PhotoShop
Fonts installed via Font Book should be immediately available in all programs, including Adobe PhotoShop.
However, if your font doesn’t show, save your PhotoShop files, close the program, and reopen PhotoShop. When you reopen PhotoShop, it will reload access to all activated fonts on your computer and should update the available font list to display your newly installed font, too.
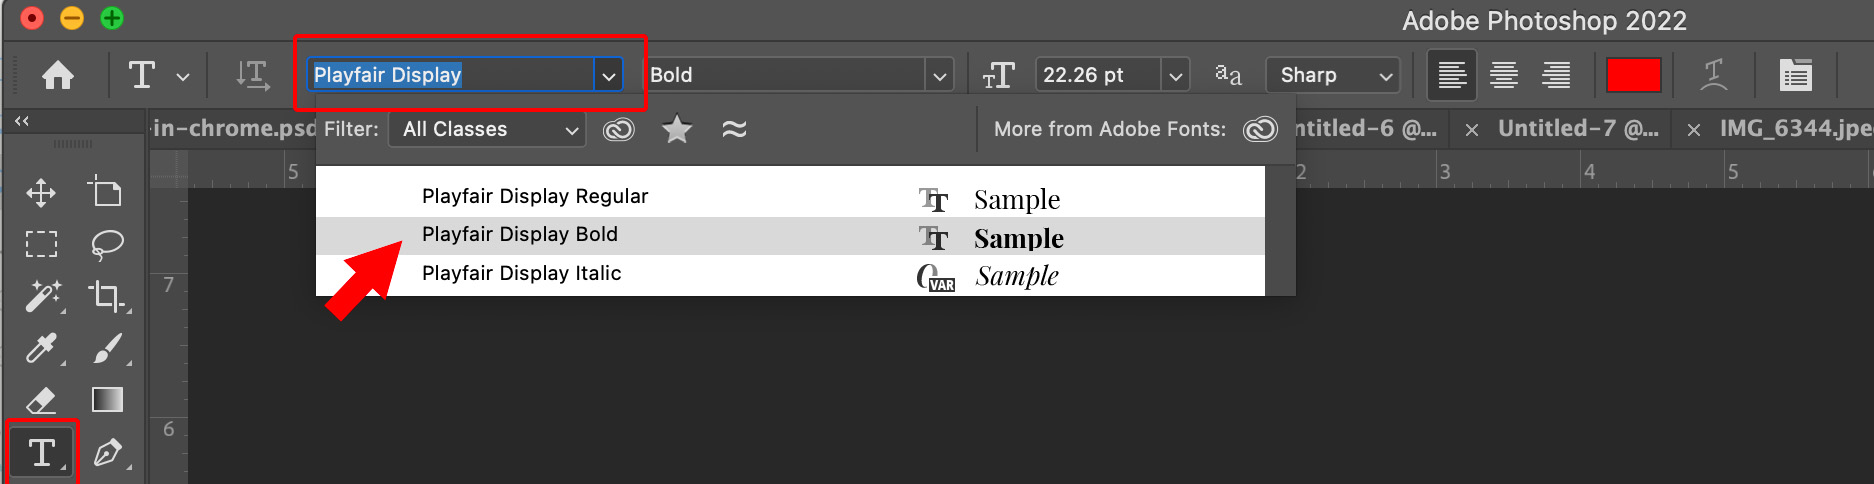
You can double-check that your font is accessible in PhotoShop by clicking the capital T (Text Tool) in your tools panel. Then look at the bar at the top of your screen, there is an option drop down where you can scroll through your fonts sorted alphabetically, or you can start to type your font’s name to find it quicker.
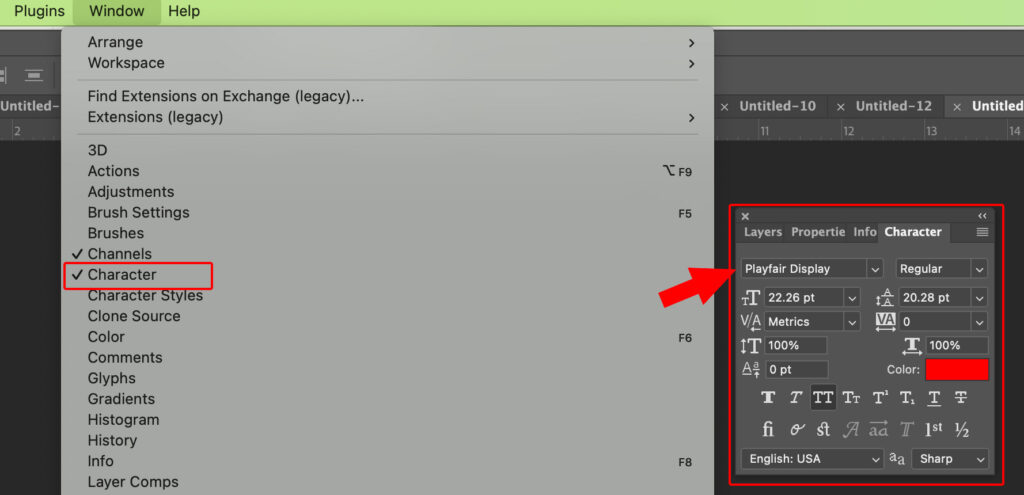
You can also access and confirm that your newly installed font is accessible in PhotoShop by selecting Window > Character. Now, look for your font’s name in the drop-down.
Did this step-by-step guide to downloading, activating, and selecting a new font in PhotoShop help you? Any additional tips to add? Let me know in the comments.