This post explains how to make your e-commerce store’s www and non-www URLs work in your new Shopify store.
Understanding Subdomains
First, you need to understand that the www version of your domain is a subdomain. So, if your domain name is example.com, then www.example.com is a subdomain, just like go.example.com or my.example.com. Anything before the period is a subdomain. For more about subdomains, specifically, read our full post to better understand, “What is a subdomain?“
Shopify Domains
To make your new Shopify website reachable by typing in your domain name with and without the www before the domain name, you need to connect two domains. This means that you will have three domains listed in your Domains area of the Shopify Admin panel.
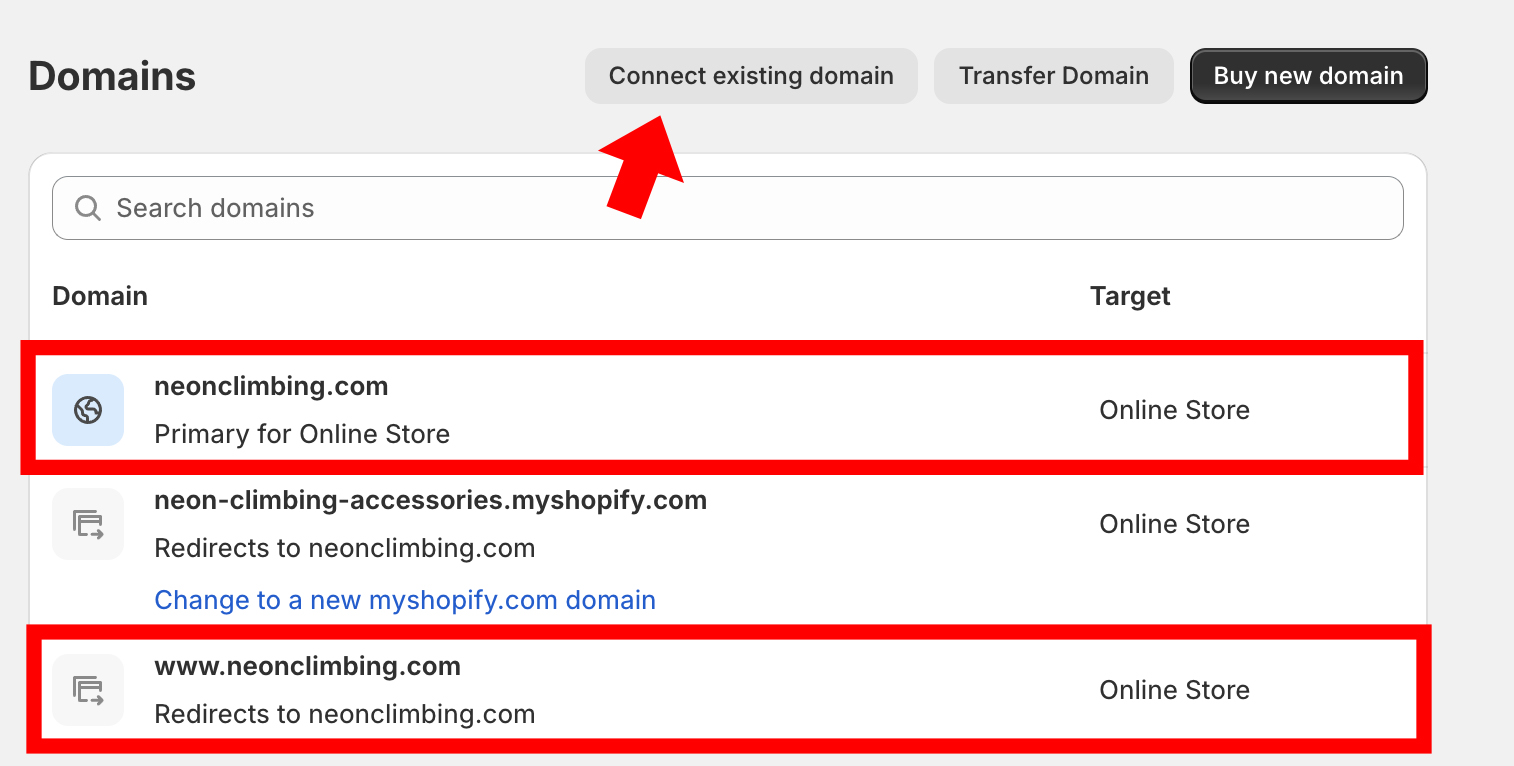
If your domain name is registered externally from Shopify, meaning you purchased it dirctly from a registrar such as Name.com, Host Silo, GoDaddy, etc., (not directly from Shopify) then you’ll get started by clicking the “Connect existing domain” button.
Instructions for Connecting your Domain Names
Shopify provides detailed instructions for connecting third-party registered domain names. You’ll need to add your new A, AAAA an CNAME records and allow them to propagate before moving forward.
- the Shopify IPv4 address
23.227.38.65 - the Shopify IPv6 address
2620:0127:f00f:5:: - the
wwwCNAME recordshops.myshopify.com.
How to configure the www and non-www versions of your site in the “Domains” area of your Shopify Admin panel
Once your new DNS records are propagated, you’ll connect your domain names in Shopify.
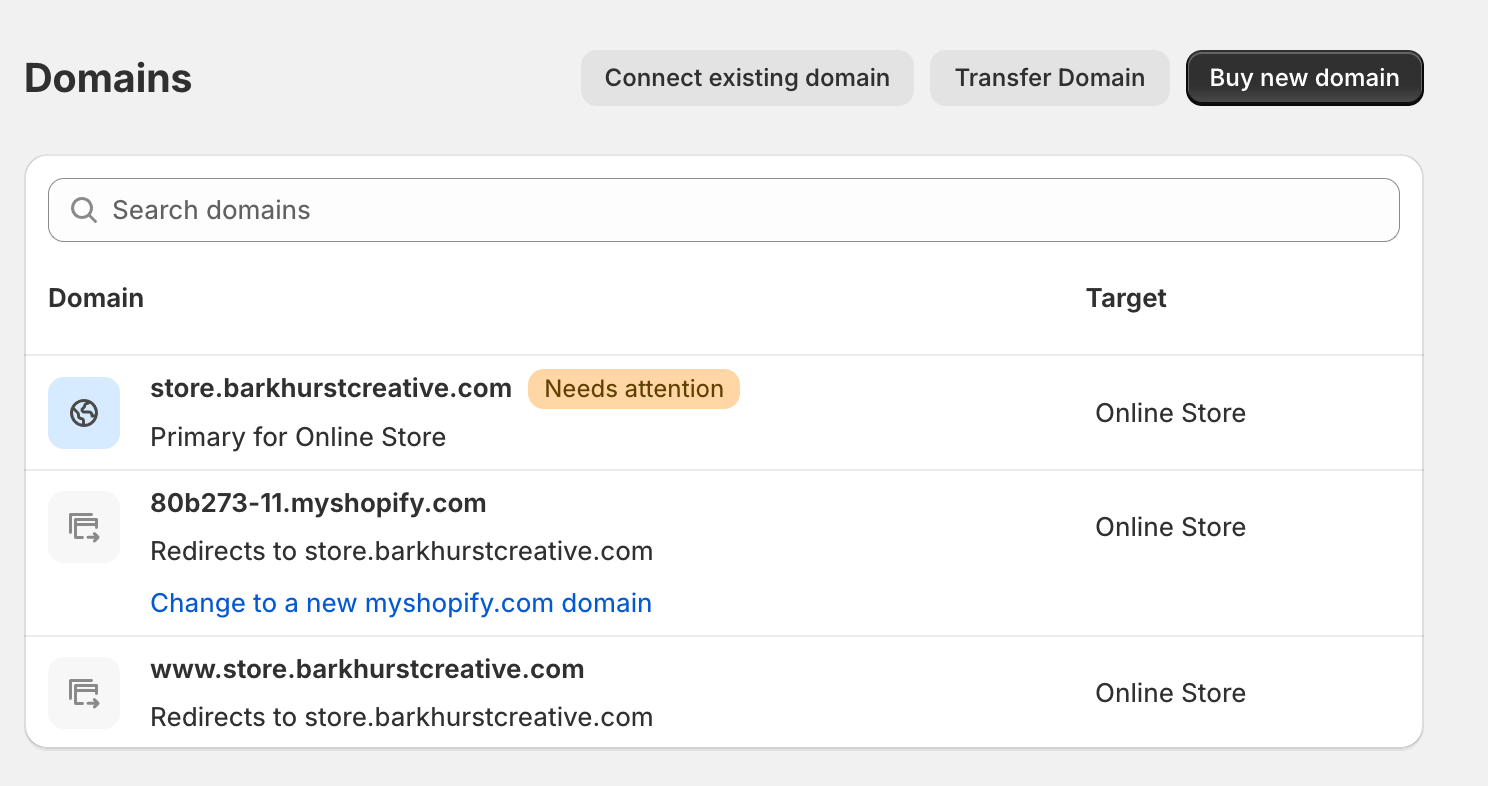
When you connect your existing domain, your domain name without the www will be selected as your Shopify store’s primary domain. You will know it is successfully your store’s primary domain name because it has a blue background icon with the globe in it and the text “Primary for Online Store” under it.
At this time, your default store address ending in myshopify.com will automatically become a redirect to your newly connected domain.
Next, you’ll connect your www version of your domain name. This means you’ll click the button “Connect existing domain” two times and connect your non-www domain name and your www version separately.
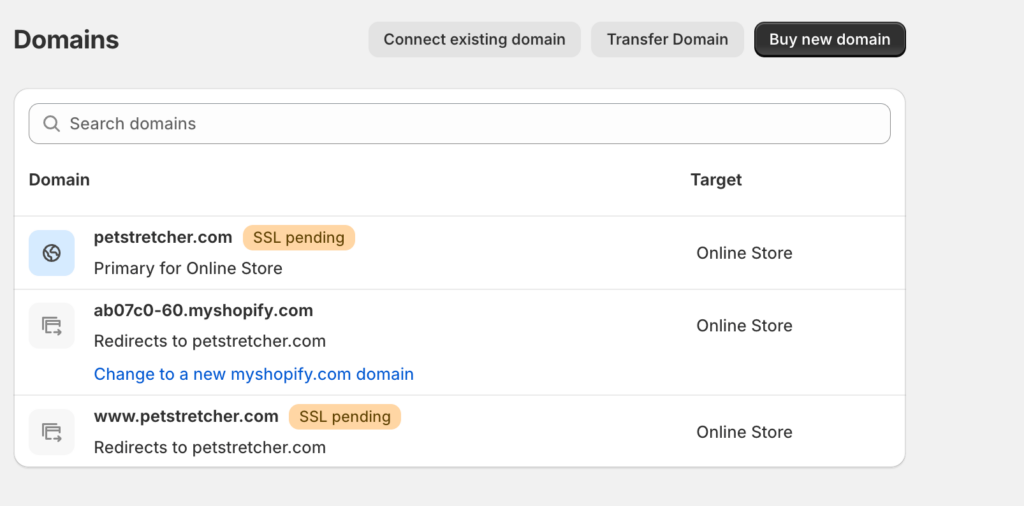
After connection, Shopify will automatically generate your SSL certificate.
Tips: When I went through these steps one of my records stayed with the alert “Needs attention” and I couldn’t get it to verify, even after several days. I solved this issue by double-checking that my DNS was correct and did not include any duplicate records. Then, I deleted my two connected domains and then reconnected them in Shopify. This time, they verified immediately.